
A few years ago, my friend made my son a bunch of cool capes out of different materials. I used that shape as a pattern, which was pretty brilliant because you can cut out two out of standard yardage folded in half. That made this project fast and reasonable.
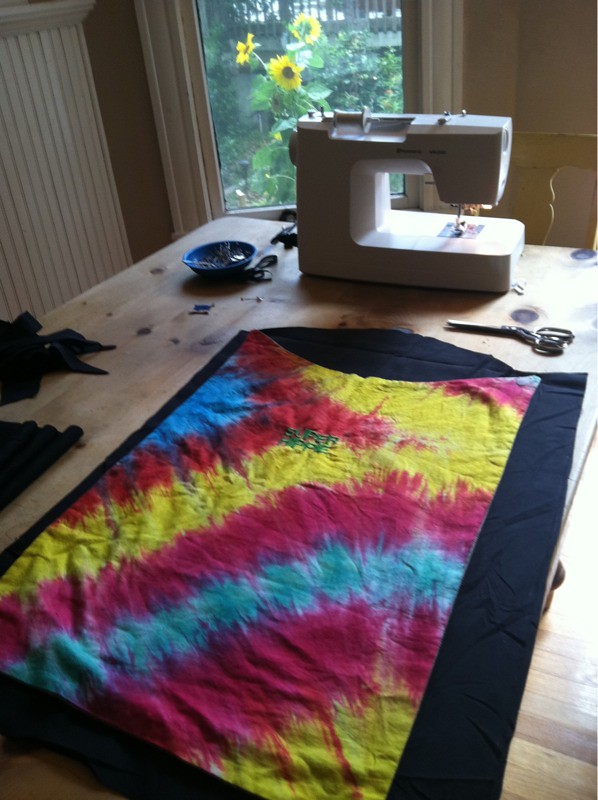
There is not real tutorial needed for this project. Just cut out 2 pieces of material (you can sketch a pattern on a piece of butcher paper, or draw on the fabric.) in the shape you see above. It is a rectangle with a scoop out for the neck. Sew up the sides and top, right sides together, and turn inside out. Adhesive velcro closes the neck and that is it!
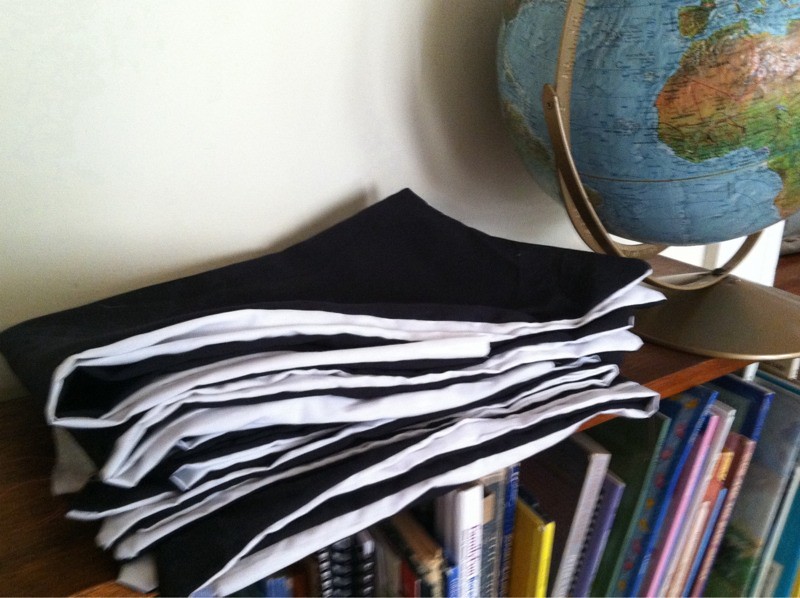
I made 10 capes with a black side and a white side and it only took a few hours. In fact, all 3 of my kids were able to help sew the capes together while I cut them out! I left the bottoms open for ease of embroidery or in case anyone wanted to sew buttons or sequins on. They can be hand or machine stitched when the designs are completed.
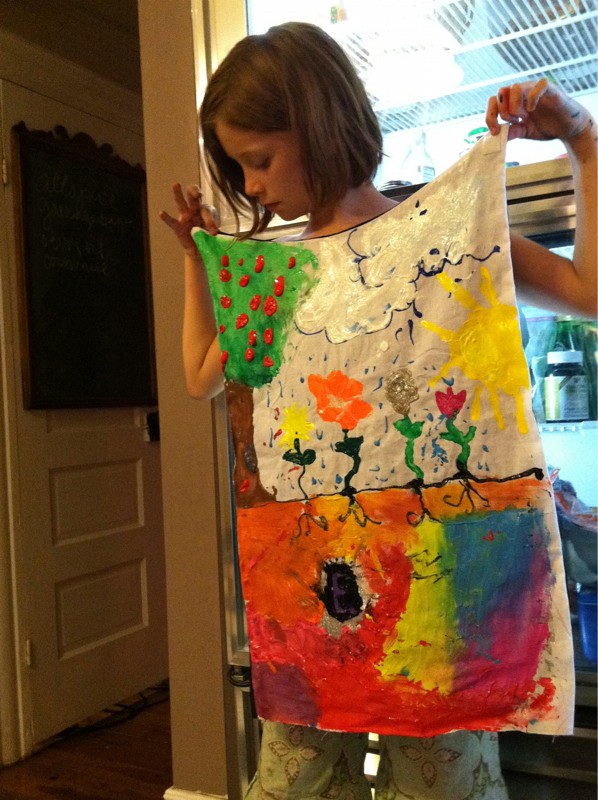
We used fabric paint to decorate the white side and plan to do some iron ons and patches on the black side.
My daughter's is a good reflection of her personality. Cheerful and optimistic!
And so is my son's cape. He is entertaining and

very proud of his strength!

Pin It
This is too cool! Do you Homeschool?
ReplyDeleteI love this idea, and am going to use it at our summer school program. My mom and daughter are great sewers and both can bring their sewing machines to the church. This will be an excellent project for our small group!
ReplyDeleteElizabeth T, Early Riser
even easier idea for a cape- take any large, old t-shirt. cut the front and sleeves off leaving the collar attached to the flat back of the shirt.trim to necessary length. voila:) free cape that can be decorated
ReplyDelete